Today is my second posting of rebuilding hugelkultur Food Ridge West — all animal habitats get a name!
Go to Hugelkultur to see a description of this European garden art.
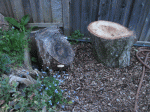
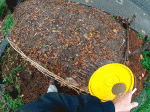
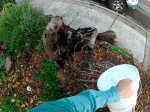
Today’s video starts with pulling apart an old firewood pile and some critters found in that habitat. One critter is relocated to the hugelkultur Food Ridge West.
Hugelkultur 2 of 4 (video):
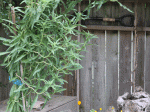
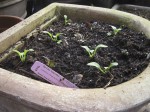
From Tony’s project (pics):
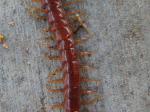
 A centipede on Tony’s patio; pic taken during another project day. Note the long tail antennae (bottom), how each body segment has one pair of legs (millipedes have 2 pairs of legs per body segment), and how shiny red the body is (a defensive “I look like venom” strategy).
Some images of hugelkultur.
For a detailed discussion,
clear graphics, and lots of pics of hugelkultur,
see Paul Weaton’s blog at:
Happy hugelkultur habitat making. See you tomorrow.
Tony


 has smaller holes.")


.")


.")