First a video re “Bucket Watering Can DIY 1 of 4”, then some pics of the project (below the video):
Bucket Watering Can DIY 1 of 4 (video):
From the project (pics):
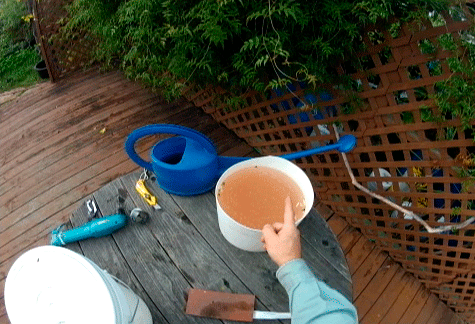
Setting up project space for converting a 5 gallon bucket (left foreground) into a dishwater watering can. Note our kitchen sink wash bucket (back of table) patiently waiting to be emptied into the new watering can.
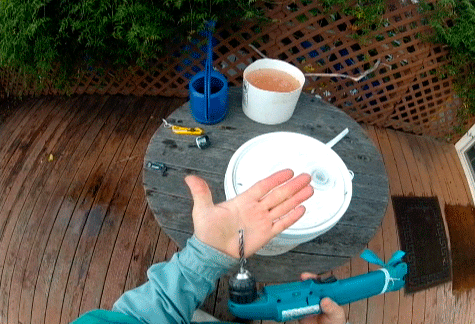 The drill bit used to create a row of holes for the watering can. The drill bit has a central spike and 2 cutting edges on the side, like an auger (without the screw).
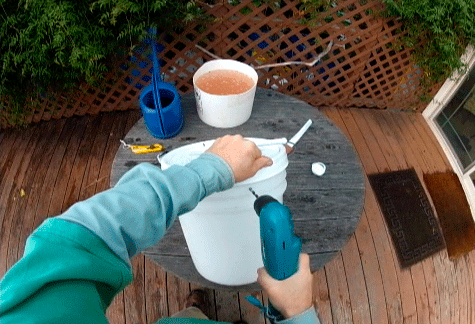 Marking the center spout hole — the drilling has begun! The new holes will be fairly close to the bucket lid so that most of the water can drain out when the bucket is tipped.
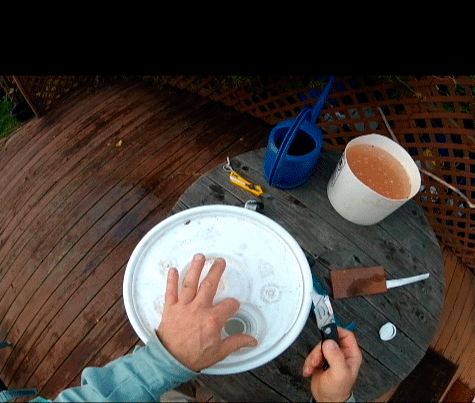 Using a utility razor knife to cut the fill hole. Not so easy as I thought the cut would be but the recessed plug ring helped guide the knife.
Happy DIY projects for your Habitat Food Forest. See you tomorrow.
Tony
