Feb 042013
 
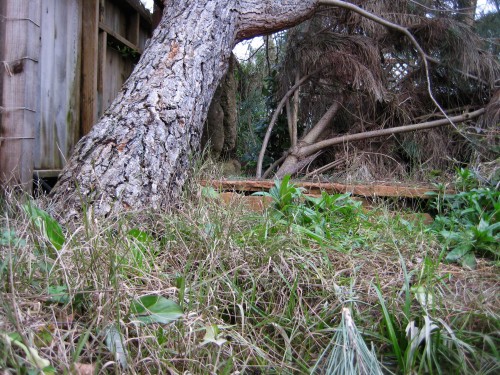
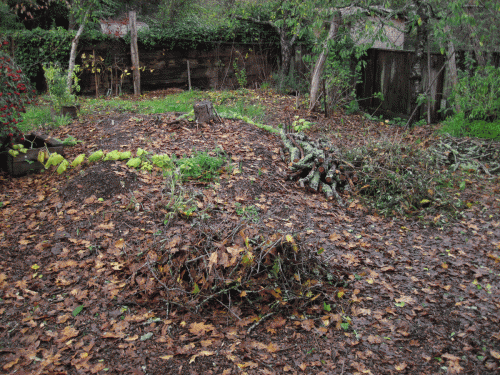
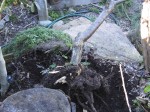
Close-up of nearly removed apricot tree and its rootball.

Time to remove the apricot tree, Grandpa’s Apricot Tree, in our back garden.  Almost no fruit in at least 6 years.  Seasons, soil, water, and our hungry food-producing mindsets will wait no longer!  Time to nurture another tree.  We will plant a Santa Rosa plum tree, who’s namesake is the next town over from our sunny California garden.


Almost!  I almost got the entire apricot rootball out before coming to my senses.  Yes, I like to create an animal habitat EVERY time I dig into the soil.  But, I thought I would shortcut that vision because so many parts of the garden call for my attention.  (Truth be told, the garden would do very well without my meddling.)  Then, with ¾’s of the root ball removed and even less breath in my lungs, I came to my senses. 


Yes!, this is a habitat.  I can stop right here.  This rootwad DOES NOT have to be completely removed from the bed.  The Santa Rosa plum can be planted next to the almost-removed rootball of Grandpa’s Apricot Tree.  My exhausted muscles can think of many reasons why to keep the leaned over, buried tree trunk.  Watch today’s video and the next 2 to come to find out why!


Habitat it and they will come!


20130130 Grandpa’s Apricot Root Worlds Fair 1 of 3

 (video):

20130130 Grandpa’s Apricot Root Worlds Fair (pics):
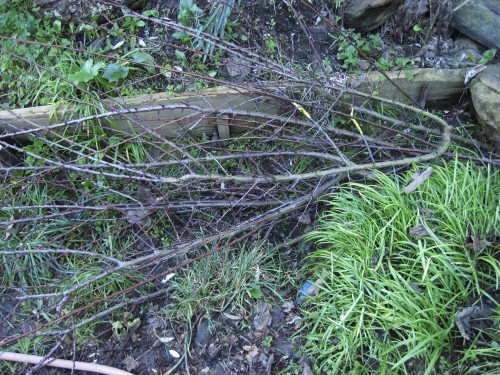
The apricot tree was pruned to make removal easier.The apricot tree was pruned to make removal easier.  Note the old grafting sites (with yellow grafting sealer); even new stock would not produce fruit.  A shame – the tree growth was vigorous with beautiful structure and wood/bark.
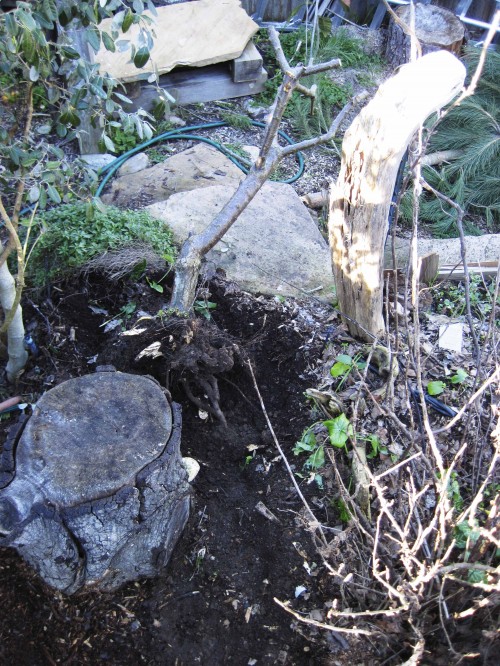
 

A tree is down!  Repeat, a tree is down!A tree is down!  Repeat, a tree is down!  After cutting some roots with a shovel, and bronco-riding the tree, other roots snapped and the tree was rendered a soil dweller.
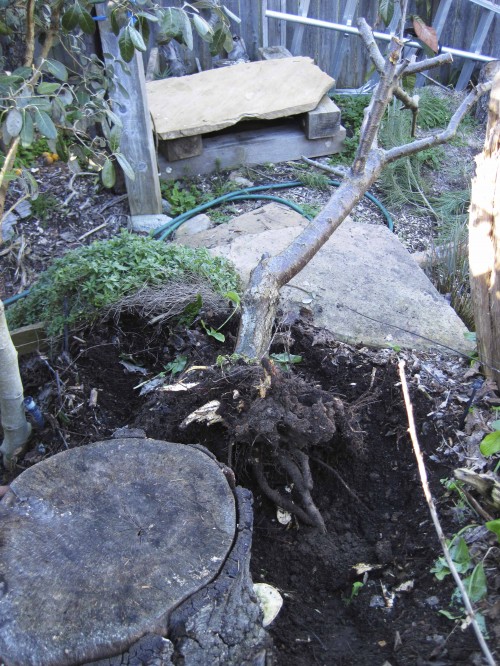
 

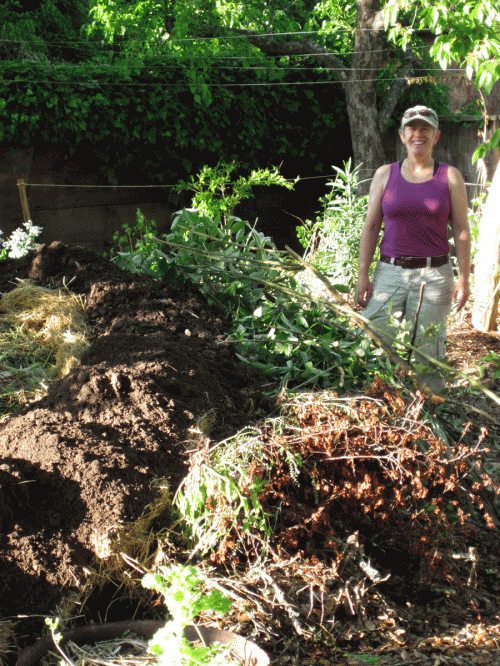
Close-up of nearly removed apricot tree and its rootball.Close-up of nearly removed apricot tree and its rootball.  This is where, when I discovered that the tree need not be completely removed, that the soil-rich rootball makes a fantastic garden animal habitat.


Enjoy your habitat thinking-out-of-the-box creations.  Nothin is debris in a habitat garden food forest!

Tony
Jan 312013
 

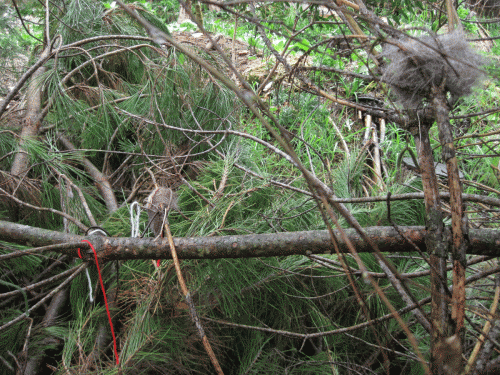
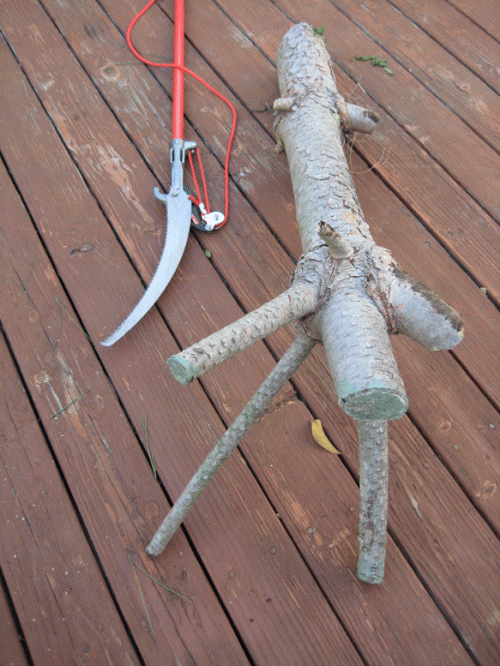
Too much shade!  The pine tree above Pine Brush Pile animal habitat is way to healthy and has grown enormous over the last 6 years.  We want more sun to get to the fruit trees and vegetables below the tree.  So, the pine tree will be severely pruned today.  An owl eating perch is thrown in for good measure.  AND, of course, more habitat materials for Pine Brush Pile.

20130130 Pine Tree Pruning (video):


Enjoy your habitat thicket creations.  Nothin is debris in a habitat garden food forest!

Tony


Jan 172013
 
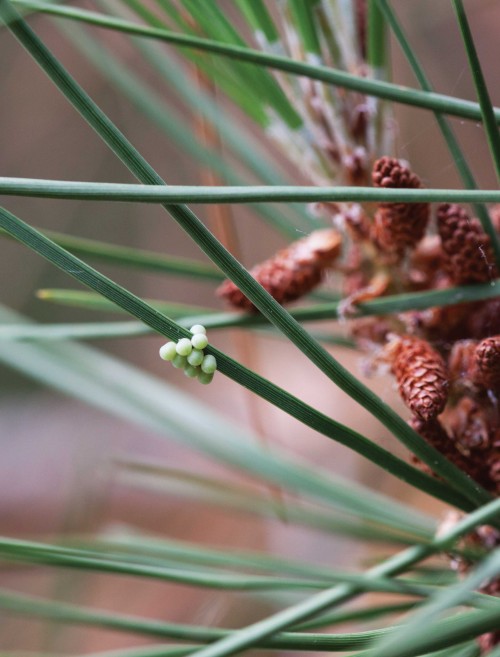
Insect Eggs on Pine Needle.

Pine Brush Pile is a  Zone 4 or 5 (Permaculture) habitat oasis in Tony’s back yard.  Great place to resource this year’s Xmas tree.

 20130114 Pine Brush Pile (video):


Pine Brush Pile (pics in Tony’s book):

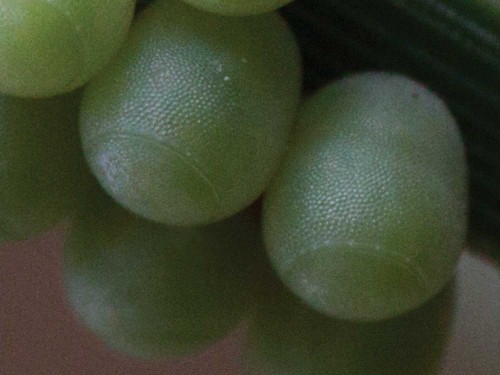
Insect Eggs on Pine Needle.Figure B.4 Insect Eggs on Pine Needle. [The picture has two parts: the background is from a distance and an insert is the close-up of the eggs. See post below for the close-up.]


Close-up of Insect Eggs on Pine Needle.  Figure B.4 Insect Eggs on Pine Needle.  The insect eggs shown are probably true bug eggs.  True bugs, order Hemiptera, are insects like cicadas, stink bugs, planthoppers, leafhoppers, shield bugs, aphids, and others.  All bugs are insects, but not all insects are bugs!   True bug eggs often have the visible “escape hatch” (the circular disc on the top of each egg), which is visible in the inset photo close-up view.   I particularly love the outer texture to the egg wall — looks like lime bumps on an orange.


Pine Brush Pile (pics from Tony’s garden):

Nest-building supplies made available for birds.Nest-building supplies made available for birds.  Lots of birds come and go in Pine Brush Pile thicket, some looking to build nests.  Yarn, string, and hair is left to help them color coordinate and insulate their nests.  Always fun to discover “foreign” articles in a bird nest.


Ground view of Pine Brush Pile from Snake Shores.Ground view of Pine Brush Pile from Snake Shores.  Perhaps a snake will slither down from the thick, warm slate of Snake Shores.  It can enter Mayan Totem Seat, the 18-inch-deep stack of slate AND spacers in the foreground, or go beyond, into the coolness and food-rich jungle of Pine Brush Pile.


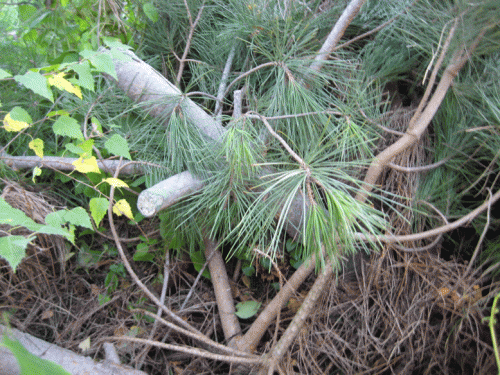
Pine log, shaped to maximize thicket-building.Pine log, shaped to maximize thicket-building.   The branch stubs left on this log will keep the log off the ground and from snugging up to other logs.  More space between logs means…[who knows but Habitat It and They Will Come!].  See next pic for the placement of this log in Pine Brush Pile.

Nobody but us pine logs here!Pine logs and branches in Pine Brush Pile.  Helter skelter never looked so good!


Enjoy your habitat thicket creations.  Nothin is debris in a habitat garden food forest!

Tony


Jan 042013
 
Hey Followers,
Happy New Year!  Yes, I took a break for a few days.  Have been doing some garden work and filming video, but have cut back on my postings.  Here to catch up a little — hope you enjoy the barn owl box videos.  And please tell all your barn owl friends we now have 2 houses up!  Will post “20130103 Barn Owl Skypad — wood shaving floor upgrade” on Sunday.  Have a great weekend.
                              Tony
Barn Owl Neighborly Box 2 of 6 (video):

Barn Owl Neighborly Box 3 of 6 (video):

Barn Owl Neighborly Box 4 of 6 (video):

Barn Owl Neighborly Box 5 of 6 (video):

Barn Owl Neighborly Box 6 of 6 (video):

Barn Owl Neighborly Box 7 of 6 (video):

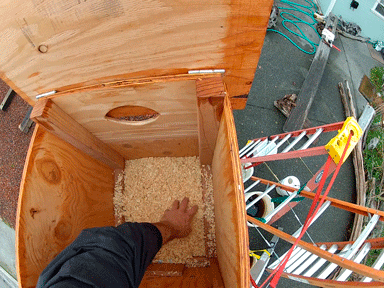
Adding wood shavings to barn owl box nest floor.

Adding wood shavings to barn owl box nest floor.


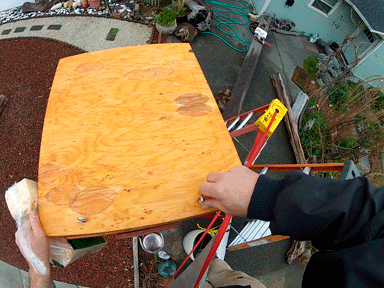
Using eye screws to secure barn owl box lid.

Using eye screws to secure barn owl box lid. No tools needed to reopen the lid.


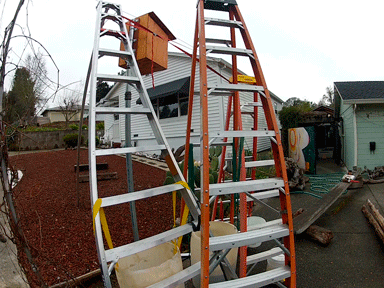
Service height of barn owl box, about 9 feet high.

Service height of barn owl box, about 9 feet high. The box can be raised another six feet, then the pole pin will keep the box held 15 feet off the ground.


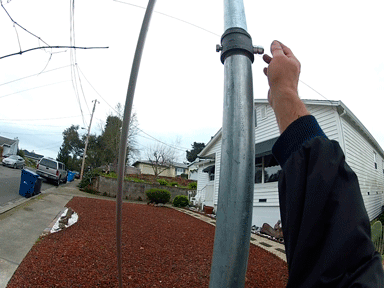
The telescoping pole's pin has been inserted to gain full height of the box off the ground.

The telescoping pole's pin has been inserted to gain full height of the box off the ground.


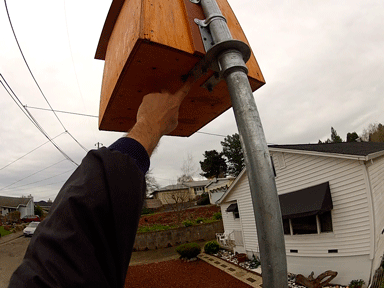
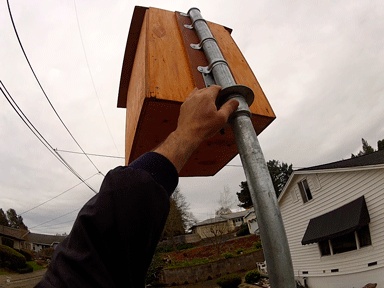
Angle iron (90-gree straps) hold the box, mounting board, and pole together.

Angle iron (90-gree straps) hold the box, mounting board, and pole together.


A very large washer acts as a flange to take the weight of the box and keep it from slipping down the pole.

A very large washer acts as a flange to take the weight of the box and keep it from slipping down the pole.


Job Complete -- Barn Owl Neighborly Box has been installed and is ready to recieve owls.

Job Complete -- Barn Owl Neighborly Box has been installed and is ready to recieve owls.


Happy barn owl habitat installations. 

See you Sunday.


Tony
 

Dec 172012
 
Barn Owl

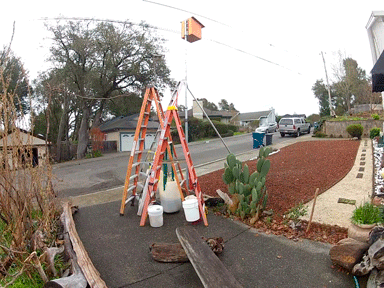
Today’s video shows Tony McGuigan, author of Habitat It and They Will Come, laying the prep work to installing a barn owl box on a pole along his driveway.  Today’s footage shows the plans, the box, and the planned location of the pole.  Part 1 of 6 videos.

Barn Owl Neighborly Box 1 of 6 (video):

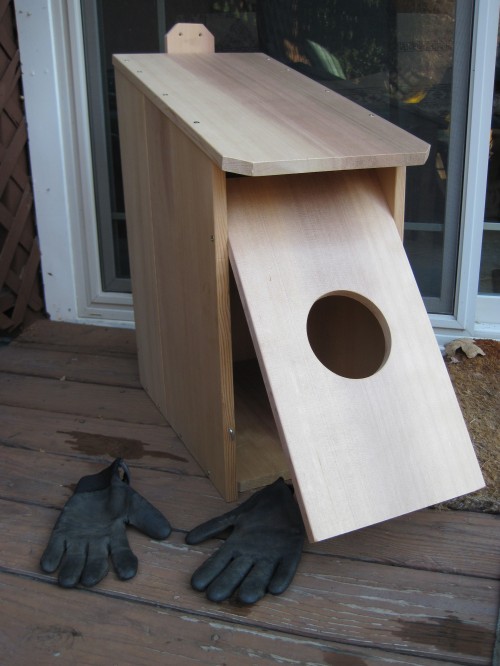
From Tony’s project last year, Barn Owl Skypad (pic):

Barn Owl Box

Barn Owl Box. Front panel opens for annual cleaning.


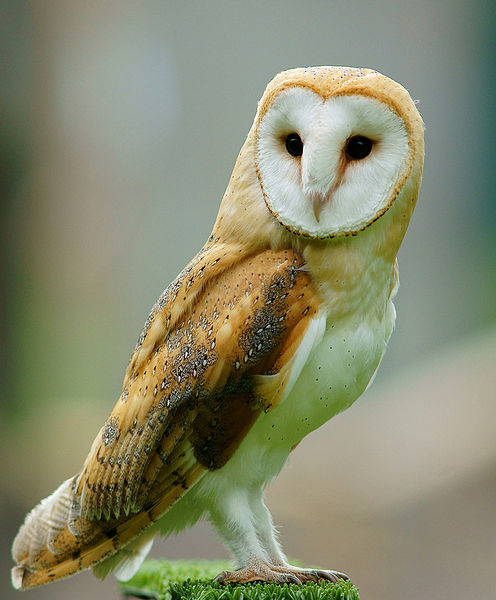
From the web (pic):


Barn Owl

Barn Owl


Go to Designing & Building Barn Owl Nest Boxes for some great info on creating a successful barn owl box AND habitat.  From the .pdf “Build A Barn Owl Box” on that site:

Simmons’ Barn Owl box has many advantages. It provides optimized protection from predators such as Great Horned Owls and raccoons. This is achieved by use of an ellipse-based entrance hole of unique shape and size and by an interior divider that separates the box into two compartments. The divider, visible via a transparent front in the drawing provides a safe living area away from the entrance. Should a predator gain access to the entrance hole, it is unlikely that it will fit completely through the hole, and the divider further prevents the predator from reaching around the divider to access the occupants.


Happy barn owl habitat making.  See you tomorrow.

Tony

Dec 142012
 
Heavy limbs weighing down the lighter sticks on Food Ridge West.


Today is my fourth posting of rebuilding hugelkultur Food Ridge West.

Go to Hugelkultur to see a description of this European garden art.

Today’s video shows the final stages of building the base of the hugelkultur.  Its “keyhole garden” shape is discussed.

Hugelkultur 4 of 4 (video):


From Tony’s project (pics):

Heavy limbs weighing down the lighter sticks on Food Ridge West.  Heavy limbs weighing down the lighter sticks on Food Ridge West.  This woody mesh of twigs, sticks, and limbs makes a good base for organic debris layers to come.  Note all the nooks and crannies that will be available to garden critters.  HABITAT!!!


Entrance to the keyhole garden hugelkultur, Food Ridge West.Entrance to the keyhole garden hugelkultur, Food Ridge West.


Close-up view of entrance to the keyhole garden hugelkultur, Food Ridge West.Close-up view of entrance to the keyhole garden hugelkultur, Food Ridge West.   The added layers of organic debris will rise over the vertical log (left, inside the keyhole garden bed), only to settle back down again next year.  Each year’s added layers mean better soil for crops.


Some images of hugelkultur.

For a detailed discussion,

clear graphics, and lots of pics of hugelkultur,

see Paul Weaton’s blog at:Click to go to Paul Weaton's blog entry on Hugelkultur.


Happy hugelkultur habitat making.  See you tomorrow.

Tony

Dec 142012
 
Added lighter twigs, then heavier sticks and limbs to the hugelkultur.

Today is my third posting of rebuilding hugelkultur Food Ridge West.

Go to Hugelkultur to see a description of this European garden art.

Today’s video shows working lighter sticks first, then heavier sticks on top.  Hugelkultur Building 101!

Hugelkultur 3 of 4 (video):


From Tony’s project (pics):

Added lighter twigs, then heavier sticks and limbs to the hugelkultur.Adding lighter twigs, then heavier sticks and limbs to the hugelkultur.  The heavier limbs will help compress the organic debris pile.


Some images of hugelkultur.

For a detailed discussion,

clear graphics, and lots of pics of hugelkultur,

see Paul Weaton’s blog at:Click to go to Paul Weaton's blog entry on Hugelkultur.


Happy hugelkultur habitat making.  See you tomorrow.

Tony

Dec 142012
 
A centipede on Tony’s patio.

Today is my second posting of rebuilding hugelkultur Food Ridge West — all animal habitats get a name!

Go to Hugelkultur to see a description of this European garden art.

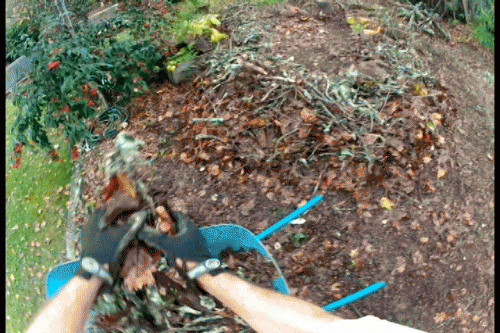
Today’s video starts with pulling apart an old firewood pile and some critters found in that habitat.  One critter is relocated to the hugelkultur Food Ridge West.

Hugelkultur 2 of 4 (video):

From Tony’s project (pics):

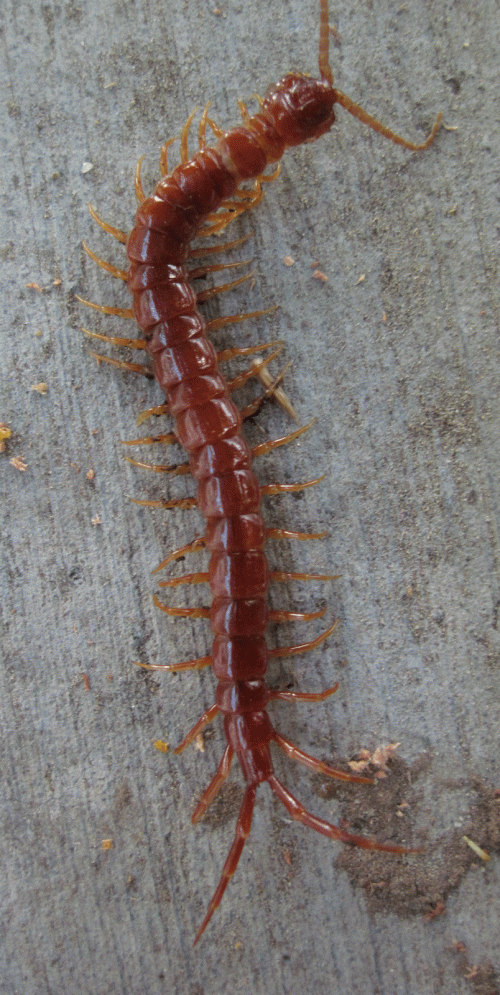
A centipede on Tony’s patio.A centipede on Tony’s patio; pic taken during another project day.  Note the long tail antennae (bottom), how each body segment has one pair of legs (millipedes have 2 pairs of legs per body segment), and how shiny red the body is (a defensive “I look like venom” strategy).


Some images of hugelkultur.

For a detailed discussion,

clear graphics, and lots of pics of hugelkultur,

see Paul Weaton’s blog at:Click to go to Paul Weaton's blog entry on Hugelkultur.


Happy hugelkultur habitat making.  See you tomorrow.

Tony


Dec 142012
 

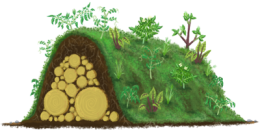
Hugelkultur is the piling up of organic matter, like wood stumps and prunings, to make a raised mound on which crops are grown.

Go to Hugelkultur to see more description of this European garden art.

Today’s video introduces Tony’s project — a hugelkultur on top of a previous hugelkultur.  The original pile of prunings and soil has decomposed and settled and is now ready for another round of rounds (pun intended!).

Hugelkultur 1 of 4 (video):

From Tony’s project (pics):

Last year’s yard debris pile converted to a hugelkultur. The yard debris pile that we have converted to a hugelkultur (by adding soil on top) stands nearly waste high to Anita.


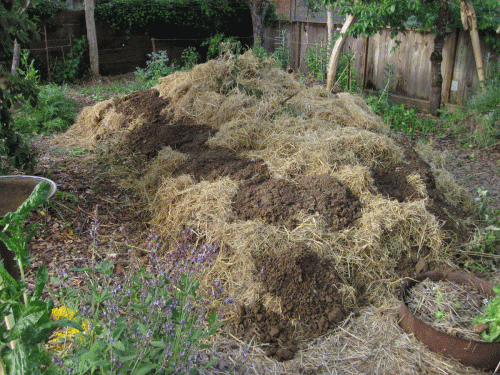
Last year’s hugelkultur topped off with straw before final soil layer.Last year’s hugelkultur topped off with straw before final soil layer.  The hugelkultur was a good place to get rid of, “use”, some on-hand adobe soil.  Ultimately, the layers of organic matter below and above the adobe soil will enrich that soil.


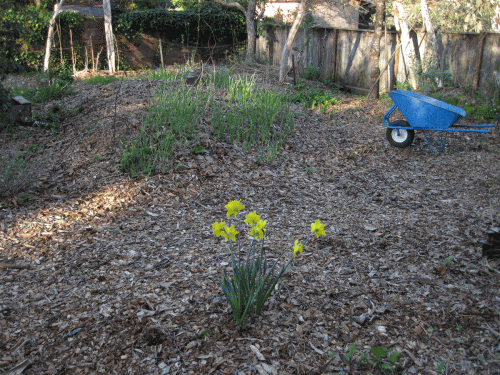
Last year’s hugelkultur, Food Ridge West, produced a garlic crop.Last year’s hugelkultur, Food Ridge West, produced a garlic crop.  Notice how much the soil-covered debris pile has settled – the vertical log that was buried is now poking through the central walk path.


The BEFORE to this year’s Food Ridge West hugelkultur project.The BEFORE to this year’s Food Ridge West hugelkultur project.  The soil level has settled even more. The hugelkultur’s inner debris pile has broken down further – note the vertical log sticks out yet further than from last spring’s garlic crop pic, above.  Piles of black oak branches and limbs are ready to add to the hugelkultur.


For a detailed discussion,

clear graphics, and lots of pics of hugelkultur,

see Paul Weaton’s blog at:

Click to go to Paul Weaton's blog entry on Hugelkultur.


Some images of hugelkultur.


Happy hugelkultur habitat making.  See you tomorrow.

Tony

Dec 132012
 
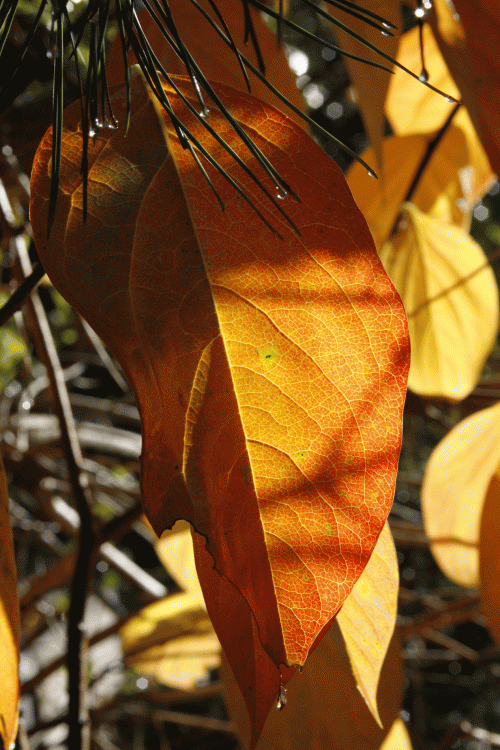
Early morning sun on Hachiya persimmon leaves.

First a video re “Harvesting Persimmon 2 of 2”, then some pics of the project (below the video):

Harvesting Persimmon 2 of 2 (video):

From the project (pics):

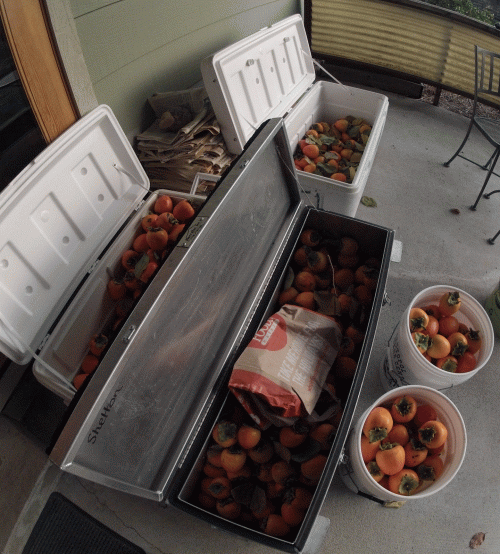
The bounty of Hachiya persimmon from this year’s harvest.The bounty of Hachiya persimmon from this year’s harvest.  These picnic boxes and more!


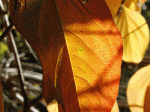
Early morning sun on Hachiya persimmon leaves.Early morning sun on Hachiya persimmon leaves.  These leaves have changed color (fall foliage) from their usual lush greens and are about to drop.


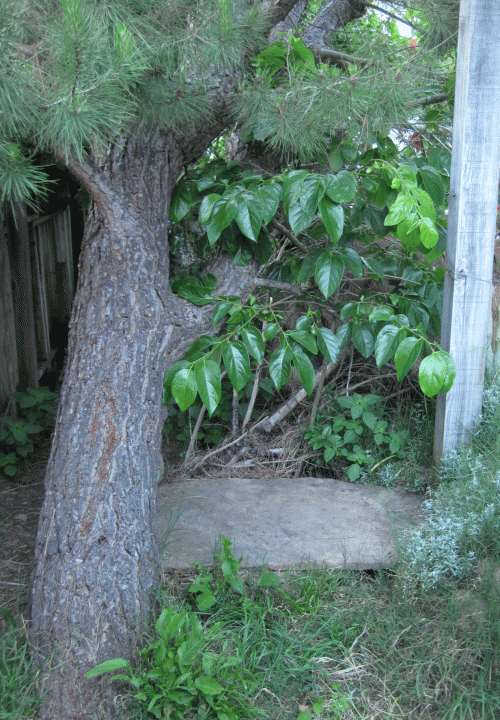
Our young persimmon tree grows alongside an established pine tree.Our young persimmon tree grows alongside an established pine tree.  Someday, we will climb the pine to harvest persimmon.


Happy persimmon harvesting and drying.  See you tomorrow.

Tony