Happy Thanksgiving weekend all!
So nice to have a little more focus on what we have to be grateful for.
Garden Log:
1. Emptied the kitchen compost into the Earthworm Bin.
2. Emptied the kitchen wash basin onto Salamander Resort.
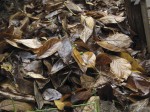
3. Removed leaves and sunken oak wedge from Salamander Sunny Swimhole, the pond over Salamander Resort. Flushed pond water.
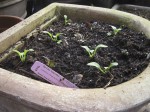
4. Potted red currant and jostaberry starts that were saved during the demolition of Rock Pile Planter.
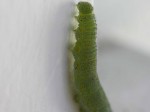
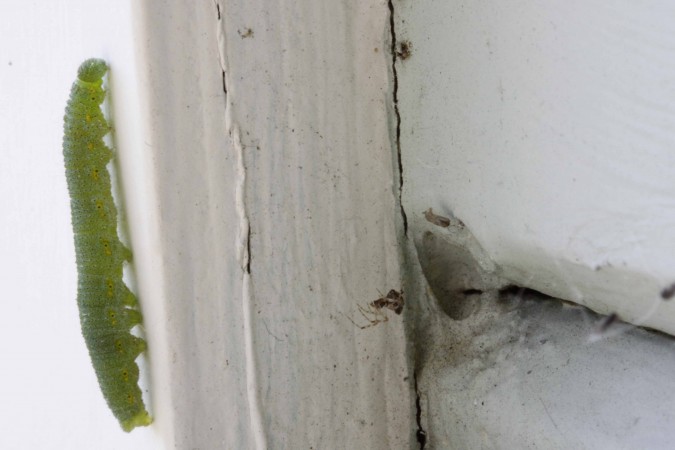
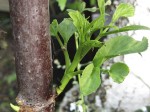
5. Photographed what was a caterpillar yesterday and is a pupa today. Just outside our front door, where the sun’s warmth is wind-sheltered, a caterpillar was crawling along the siding yesterday. In just about the same space today — “You haven’t gotten very far Little One, have you?” Well duh! That caterpillar may be there all winter. In fact, it’s not even a caterpillar any more. It’s a chrysalis, attached to the siding with a sticky silk ball.

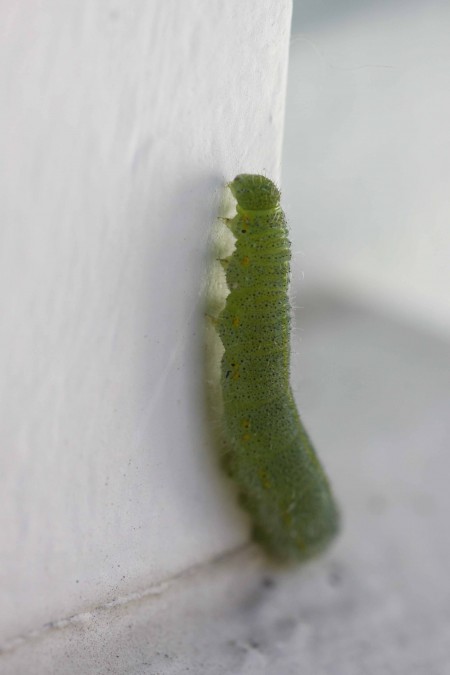
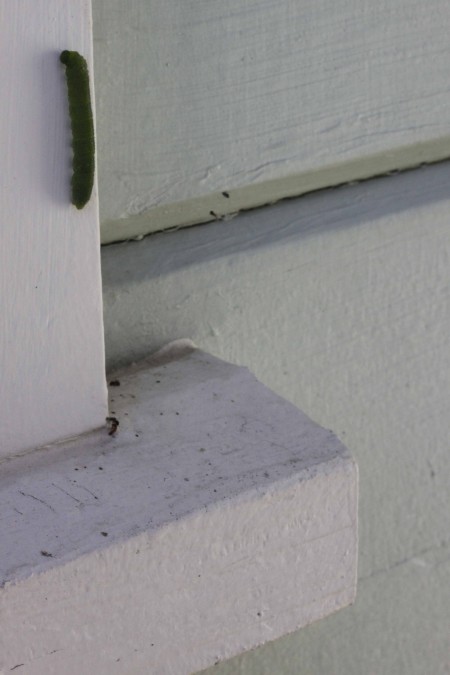
Butterfly chrysalis on wood siding.

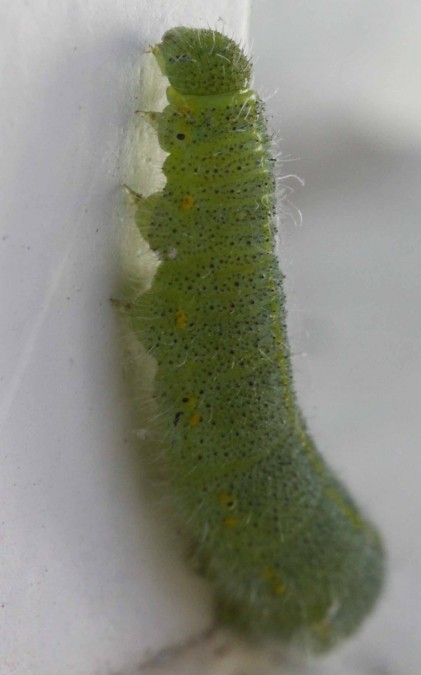
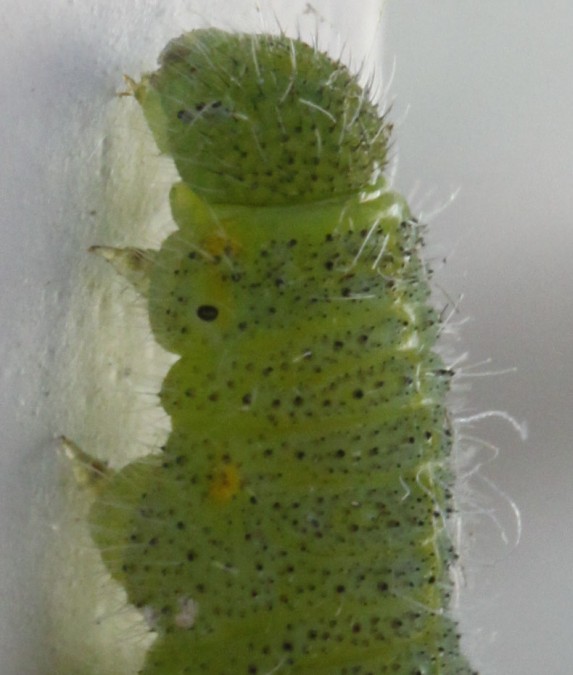
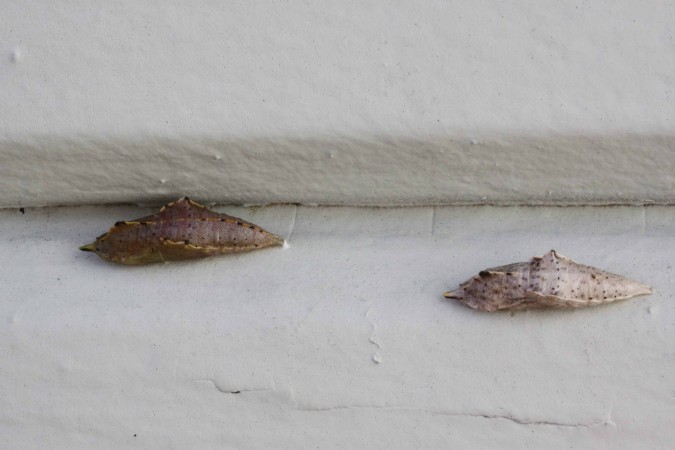
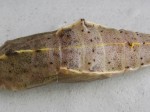
Close-up of butterfly chrysalis. Yesterday it was a plump, cylindrical, light-green, soft-skinned caterpillar. Today it is forming angular, hard ridges (natural I-beams) and a dark, thick crust.
You the Habitat Gardener:
1. The nights are getting chilly, even for cold-blooded invertebrates. I like to use planty of straw in the Earthworm Bin to keep it well insulated and to create a compost-breaking-down situation. All the die-hard microbes will generate heat, that will allow the straw and kitchen food to breakdown (from the microbes, of course), which puts off still more heat. The bottom will fall out of this Pyramid Scheme when we run out of kitchen scraps to add to the compost — “Quick!, gather up those rotten fallen apples and feed them to the worms.”
2. The Salamander Resort, our 6-foot-deep habitat hole/cavern/rock, wood, and soil pile, still has an unplanted surface. Intense soil making for now. The surface has been covered with different layers of organics, including manure soil, oak leaves, wood chips, magnolia leaves, straw. Great place to dump the kitchen washbasin, which is considered blackwater. “Blackwater” is a notch more ecologically volatile than greywater because of either sewage (toilet) or food particles from the kitchen sink. Sewage or food — all the same to a microbe. So for our garden, we purposefully wash our dishes in a half bucket, let it cool, then dump it in non-food areas or on the ground being careful to stay away from any leafage or root crops. Food particles and nitrogen-based “Earth-friendly” soap. [Pill Bug to his family]: “Soup’s on!” When in doubt, spread any greywater/kitchen water around then garden so you won’t drastically inundate any one plant. And don’t forget to save the bottom of the wash basin for one of your favorite plants. “Who will get all this yummy oatmeal flake- and baked eggplant polenta-infused water today? Who’s been good?”
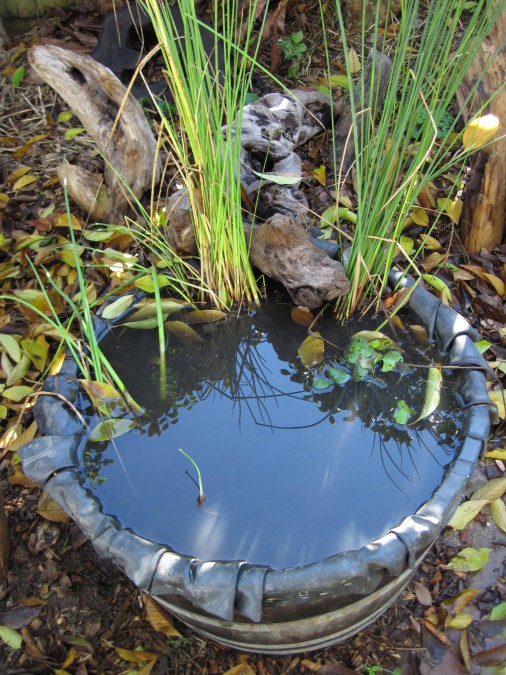
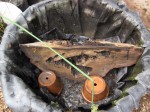
3. My heart broke this week. All the hard work I did to set up a cooler-than-cool pond habitat in Salamander Sunny Swimhole turned out to be a flop. A cold snap, with some nights as low as 26 degrees (well, after all, this is sunny California!) set in and forced a lot of falling leaves. Between the shorter days of low-angled sun, the flood of organics falling out of the air (leaves), and the lower temps, the half-barrel pond ecosystem could not keep up. Murky water filled with fallen leaves AND a touch of “oil slick” on the surface. It was the slick that told me this pond is going anaerobic — it’s being starved of oxygen. All the precious muck that I saved during the the relocation plus the current conditions were just too much for it to keep up, for it to recycle life from the decaying matter being quickly added to it. A note about the shiny, multicolored slick: it’s a sign that there’s too high a concentration of nitrogen in the water, usually from muck on the bottom.
Sure, there’s some lesson to be learned here about our pond that went flop. But the bigger picture lesson I want to convey is how freeing it is to learn from a mistake and to feel the satisfaction of having corrected it. My heart broke not because the pond wasn’t working. My heart broke because I was WRONG. Don’t you just hate that! I was so jazzed to include a neat piece of wood (a freshly cut oak wedge with rotted out holes) when setting up the pond. What design, what art! All my visions of tadpoles and other aquatic critters meandering through the wood’s passages, perhaps escaping a foraging raccoon, gone up in smoke. How couldn’t this be Paradise?
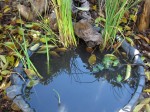
Daily cleaning out of some of the fallen magnolia leaves postponed more effective action. Luckily, I was smart enough to finally give up the ghost and hauled the wood wedge out of the pond. Smelly! Foulness that bespoketh rotteneth (Old English, so old that they may not even know about it). Clearly an inorganic situation, AKA anaerobic, going on in the pond. How cool once the wood wedge was out. More water could be added to make up for the displaced wood. Also, I was able to scoop out leaves and muck more easily. Then I gave the pond a good flushing with fresh water.
Be careful when flushing a pond, especially if you are flushing with city water which might contain health-related additives in it. Those additives, like fluorine and chlorine, will bubble out if you let them sit overnight. But straight from the city-water hose to the pond in an excessive amount might overwhelm some critters and kill them. But back to Tony’s state-of-the-art foul pond. For our pond, it was already foul, so I flushed it, flushed it, and then flushed it some more. Hey, we’re starting over, both me and the pond. The pond will recoup and achieve it’s ecosystem. I will find something to be right about, again, some day.
-
-
Oak wedge and flowerpot habitats in Salamander Sunny Swimhole.
-
-
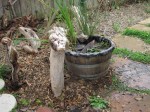
Set-up of Salamander Sunny Swimhole. Beware, the leaves are coming!
-
-
Salamander Sunny Swimhole without oak wedge and with new water. A new start after the pond went foul.
-

-
Butterfly chrysalis on wood siding.
-
-
Close-up of butterfly chrysalis. Yesterday it was a plump, cylindrical, light-green, soft-skinned caterpillar. Today it is forming angular, hard ridges (natural I-beams) and a dark, thick crust.
Stay posted — I’ll post a pic of the pond’s success as it comes.
Tony


 has smaller holes.")


.")


.")


.")
 entrance to Leaf Trench Highway.")